
Travel Preparation & Itinerary
I would like to introduce a 1-night, 2-day trip to Rocky Mountain National Park that I took last September during Labor Day. Rocky Mountain National Park is located in Colorado, so we flew from LA. There are quite a few flights from LA to Denver, giving us a wide range of options, but we took a flight from John Wayne Airport to Denver International Airport. Denver Airport is huge; it’s said to be the largest airport in the United States. Maybe that’s why it took a long time to walk from the plane to the exit, and we even had to take a train inside the airport to get out. Also, when we went to pick up our reserved rental car, we had to take a bus, so it might be good to keep in mind that it takes quite a bit of time at the airport.


We usually reserve rental cars from Enterprise, but there were no cars available at Denver Airport, so we had to book with Hertz instead. However, when we went to confirm our reservation, we were directed to the office, where there were a lot of people waiting. From this point, I started to feel uneasy… Sure enough, Hertz had overbooked, and there were no cars available. I overheard the person in front of us being told that they would have to wait 3 to 4 hours because there were no cars. We received the same explanation. Knowing that it would take a long time to sort things out, I asked if there were any cars available right now, and they said we would have to pay an additional $150, and there was only one car left. Since we had a 1-night, 2-day itinerary, we couldn’t afford to waste any more time, so we reluctantly paid the extra money to get the car. When we went to Yellowstone, there were also a lot of people waiting in front of Hertz, and I wondered if this was the reason.
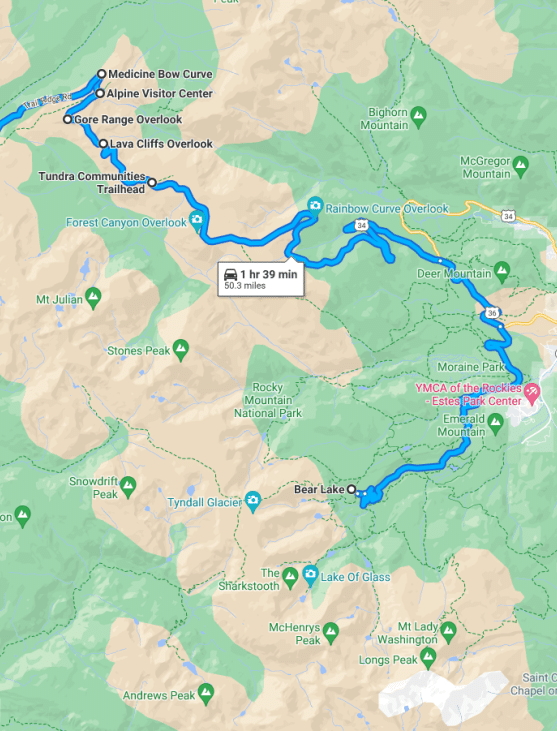


Leaving Hertz behind, we hurriedly set off for Rocky Mountain National Park. Since it was Labor Day weekend, we arrived around 5:30 PM, and there was a long line at the entrance, but it didn’t take too long to get in.
One important thing to note when visiting Rocky Mountain National Park is the Timed Entry Reservations. If you go to the Rocky Mountain website, you can find detailed information about the reservation system, which states that it will start on May 24, 2024. If you plan to go during this time, you must make a reservation. There are two options for reservations: Park Access and Park Access+. Park Access is the pass required to enter Rocky Mountain, while Park Access+ allows you to go additionally to Bear Lake.
Tickets are released on the 1st of each month, and you can make a reservation according to your desired date and time. Reservations start at 8 AM MDT. If you weren’t able to reserve tickets in advance, some tickets are released the day before your visit at 5 PM MDT, and you can reserve them then. When I made my reservation, I was planning to go in September, so I successfully reserved tickets on August 1 at 7 AM LA time. The situation in 2024 may differ from last year, so please make sure to check the website again.
Hidden Valley & Many Parks Curve Overlook
The planned trip consisted of two main activities: exploring the points along Trail Ridge Road and trekking from Bear Lake to Nymph Lake, Dream Lake, and Emerald Lake. We visited the Trail Ridge Road points over the first and second days due to time constraints, and I will explain them in detail in Part 1 for clarity.

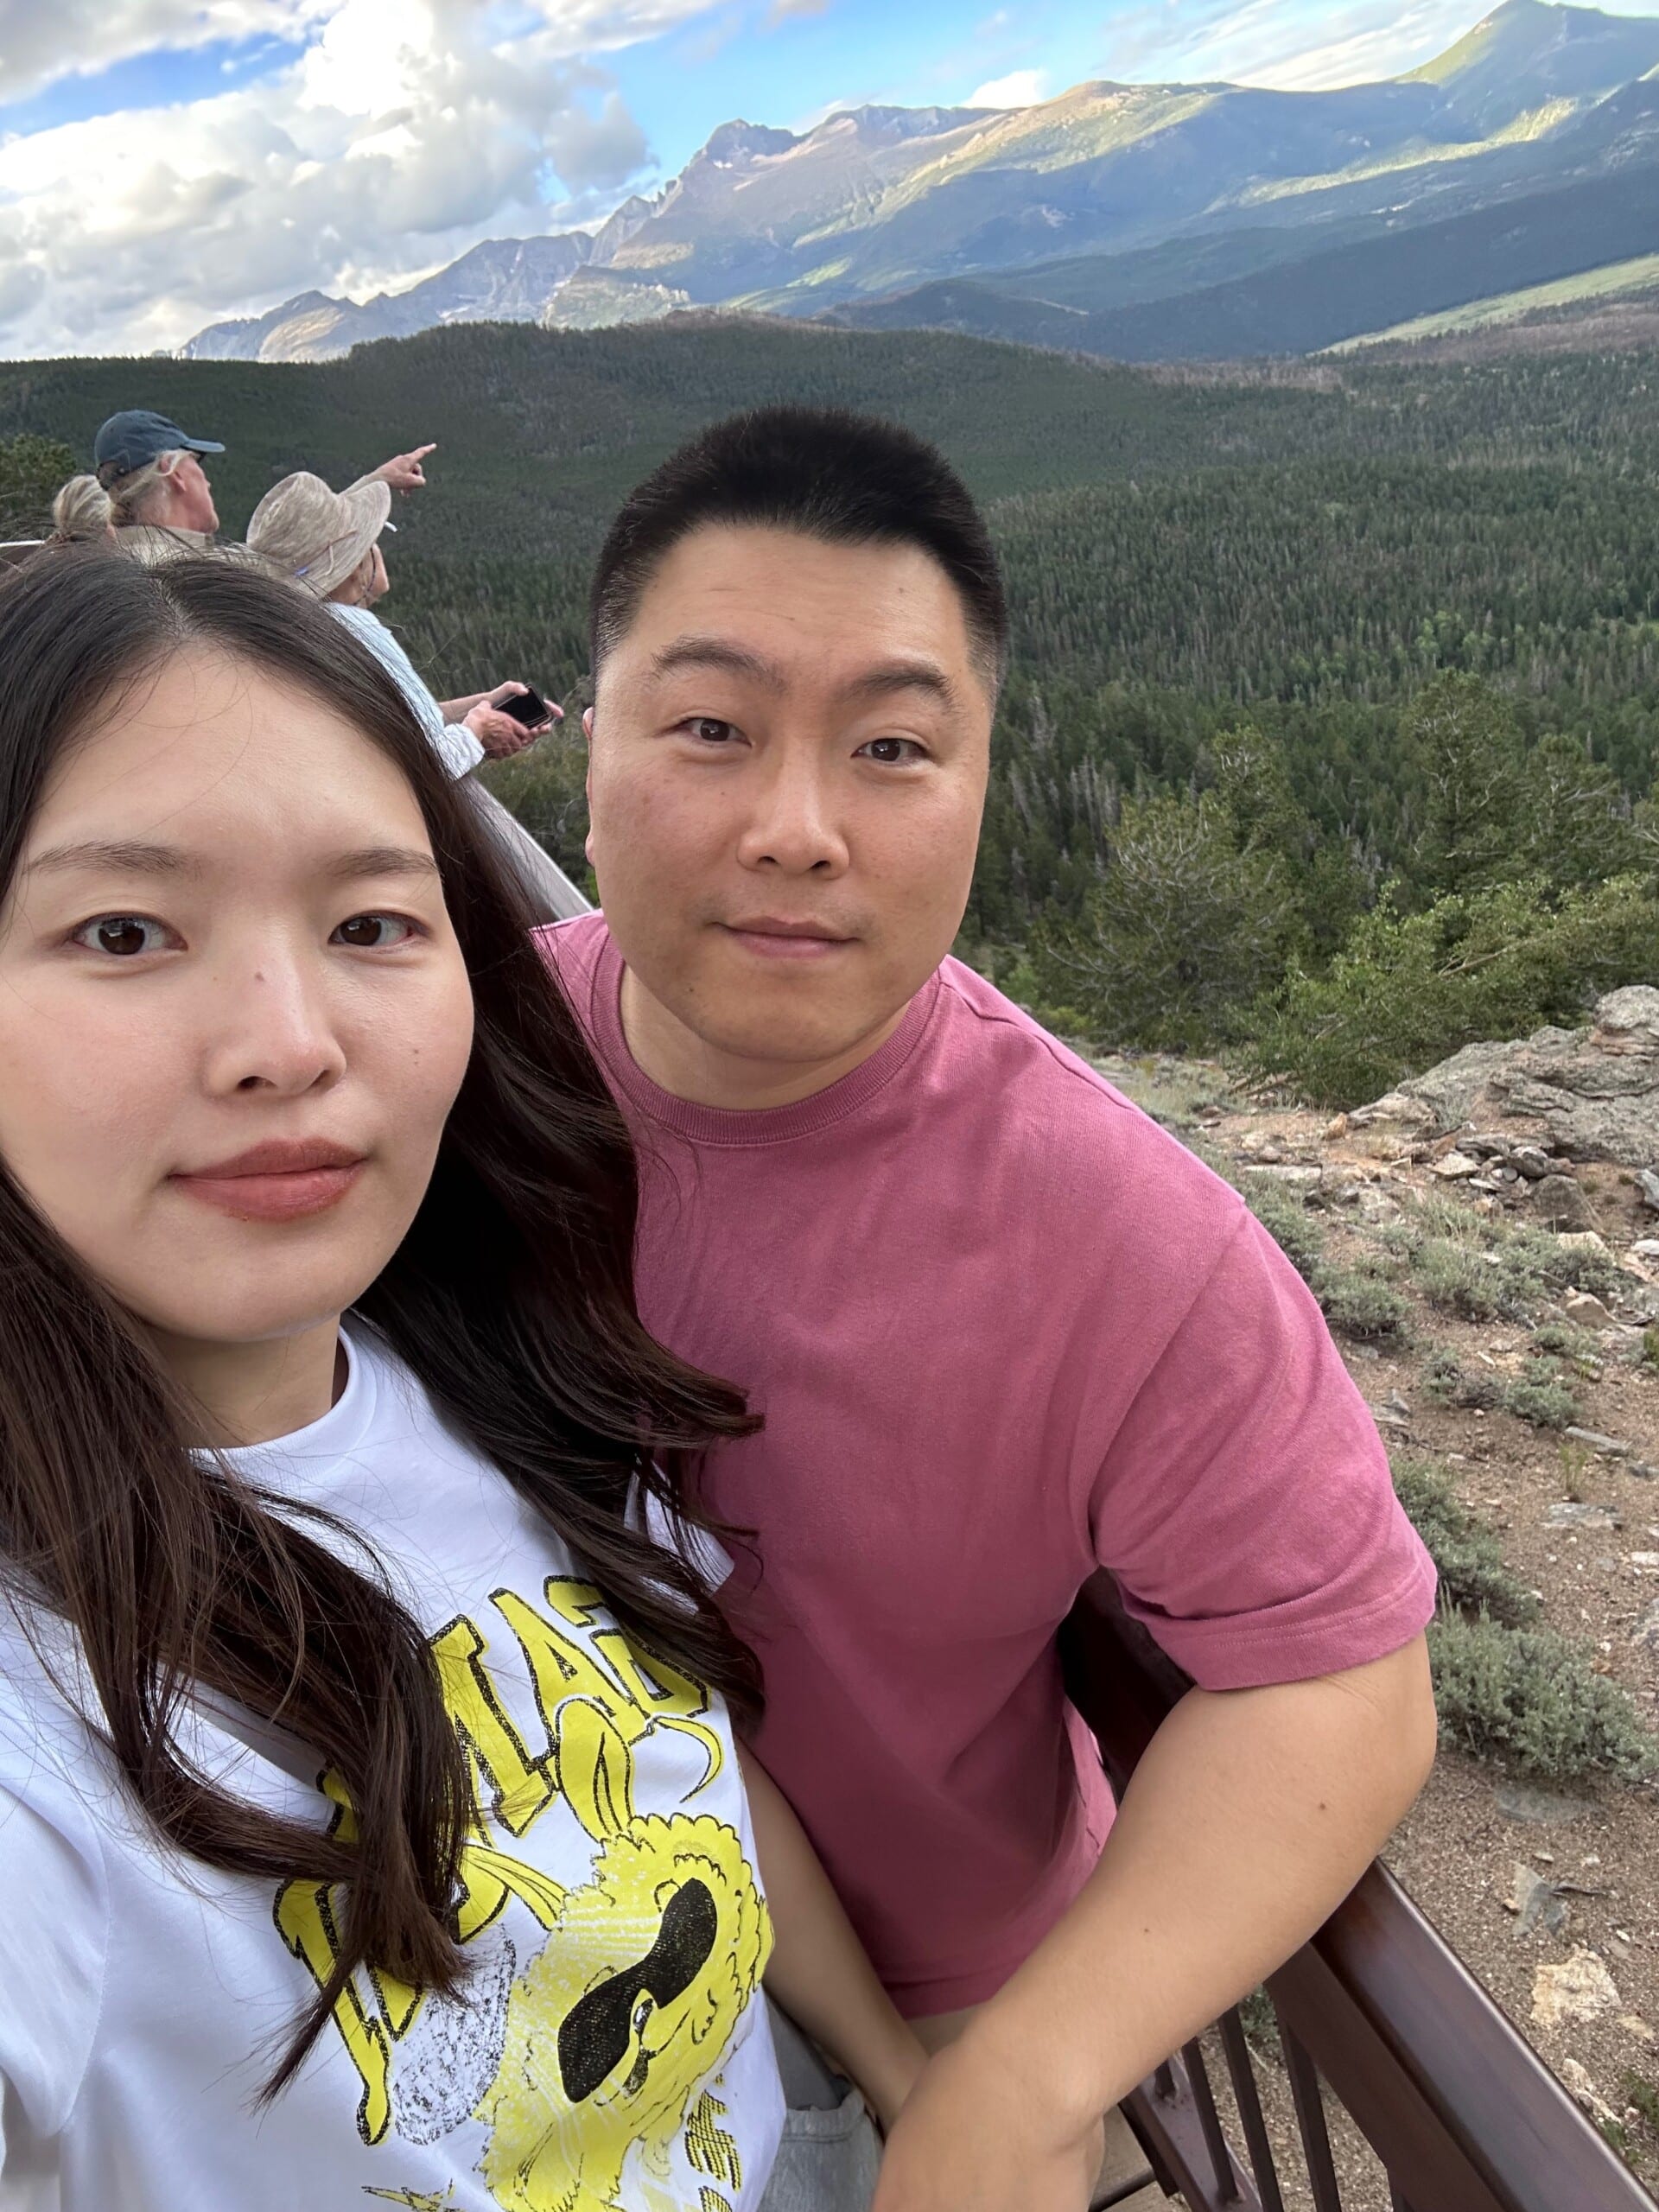

We first went to Hidden Valley, but suddenly it started pouring rain, so we gave up on the trail walk and moved on to the next point, Many Parks Curve Overlook. On the way, I got a bit hungry and took out some snacks, but they had puffed up quite a bit due to the altitude. Fortunately, the rain stopped quickly, so we parked and walked to the viewpoint. Upon arrival, we were greeted with a stunning view filled with trees, but it was a bit disappointing that the density of the trees couldn’t be fully captured in photos.
Rainbow Curve Overlook
The third point was Rainbow Curve Overlook. In fact, the view here was quite similar to that from Many Parks Curve Overlook. If you’re short on time, you could probably just visit one of the two. There were many squirrels here, and they approached quite closely, seemingly unafraid of people.
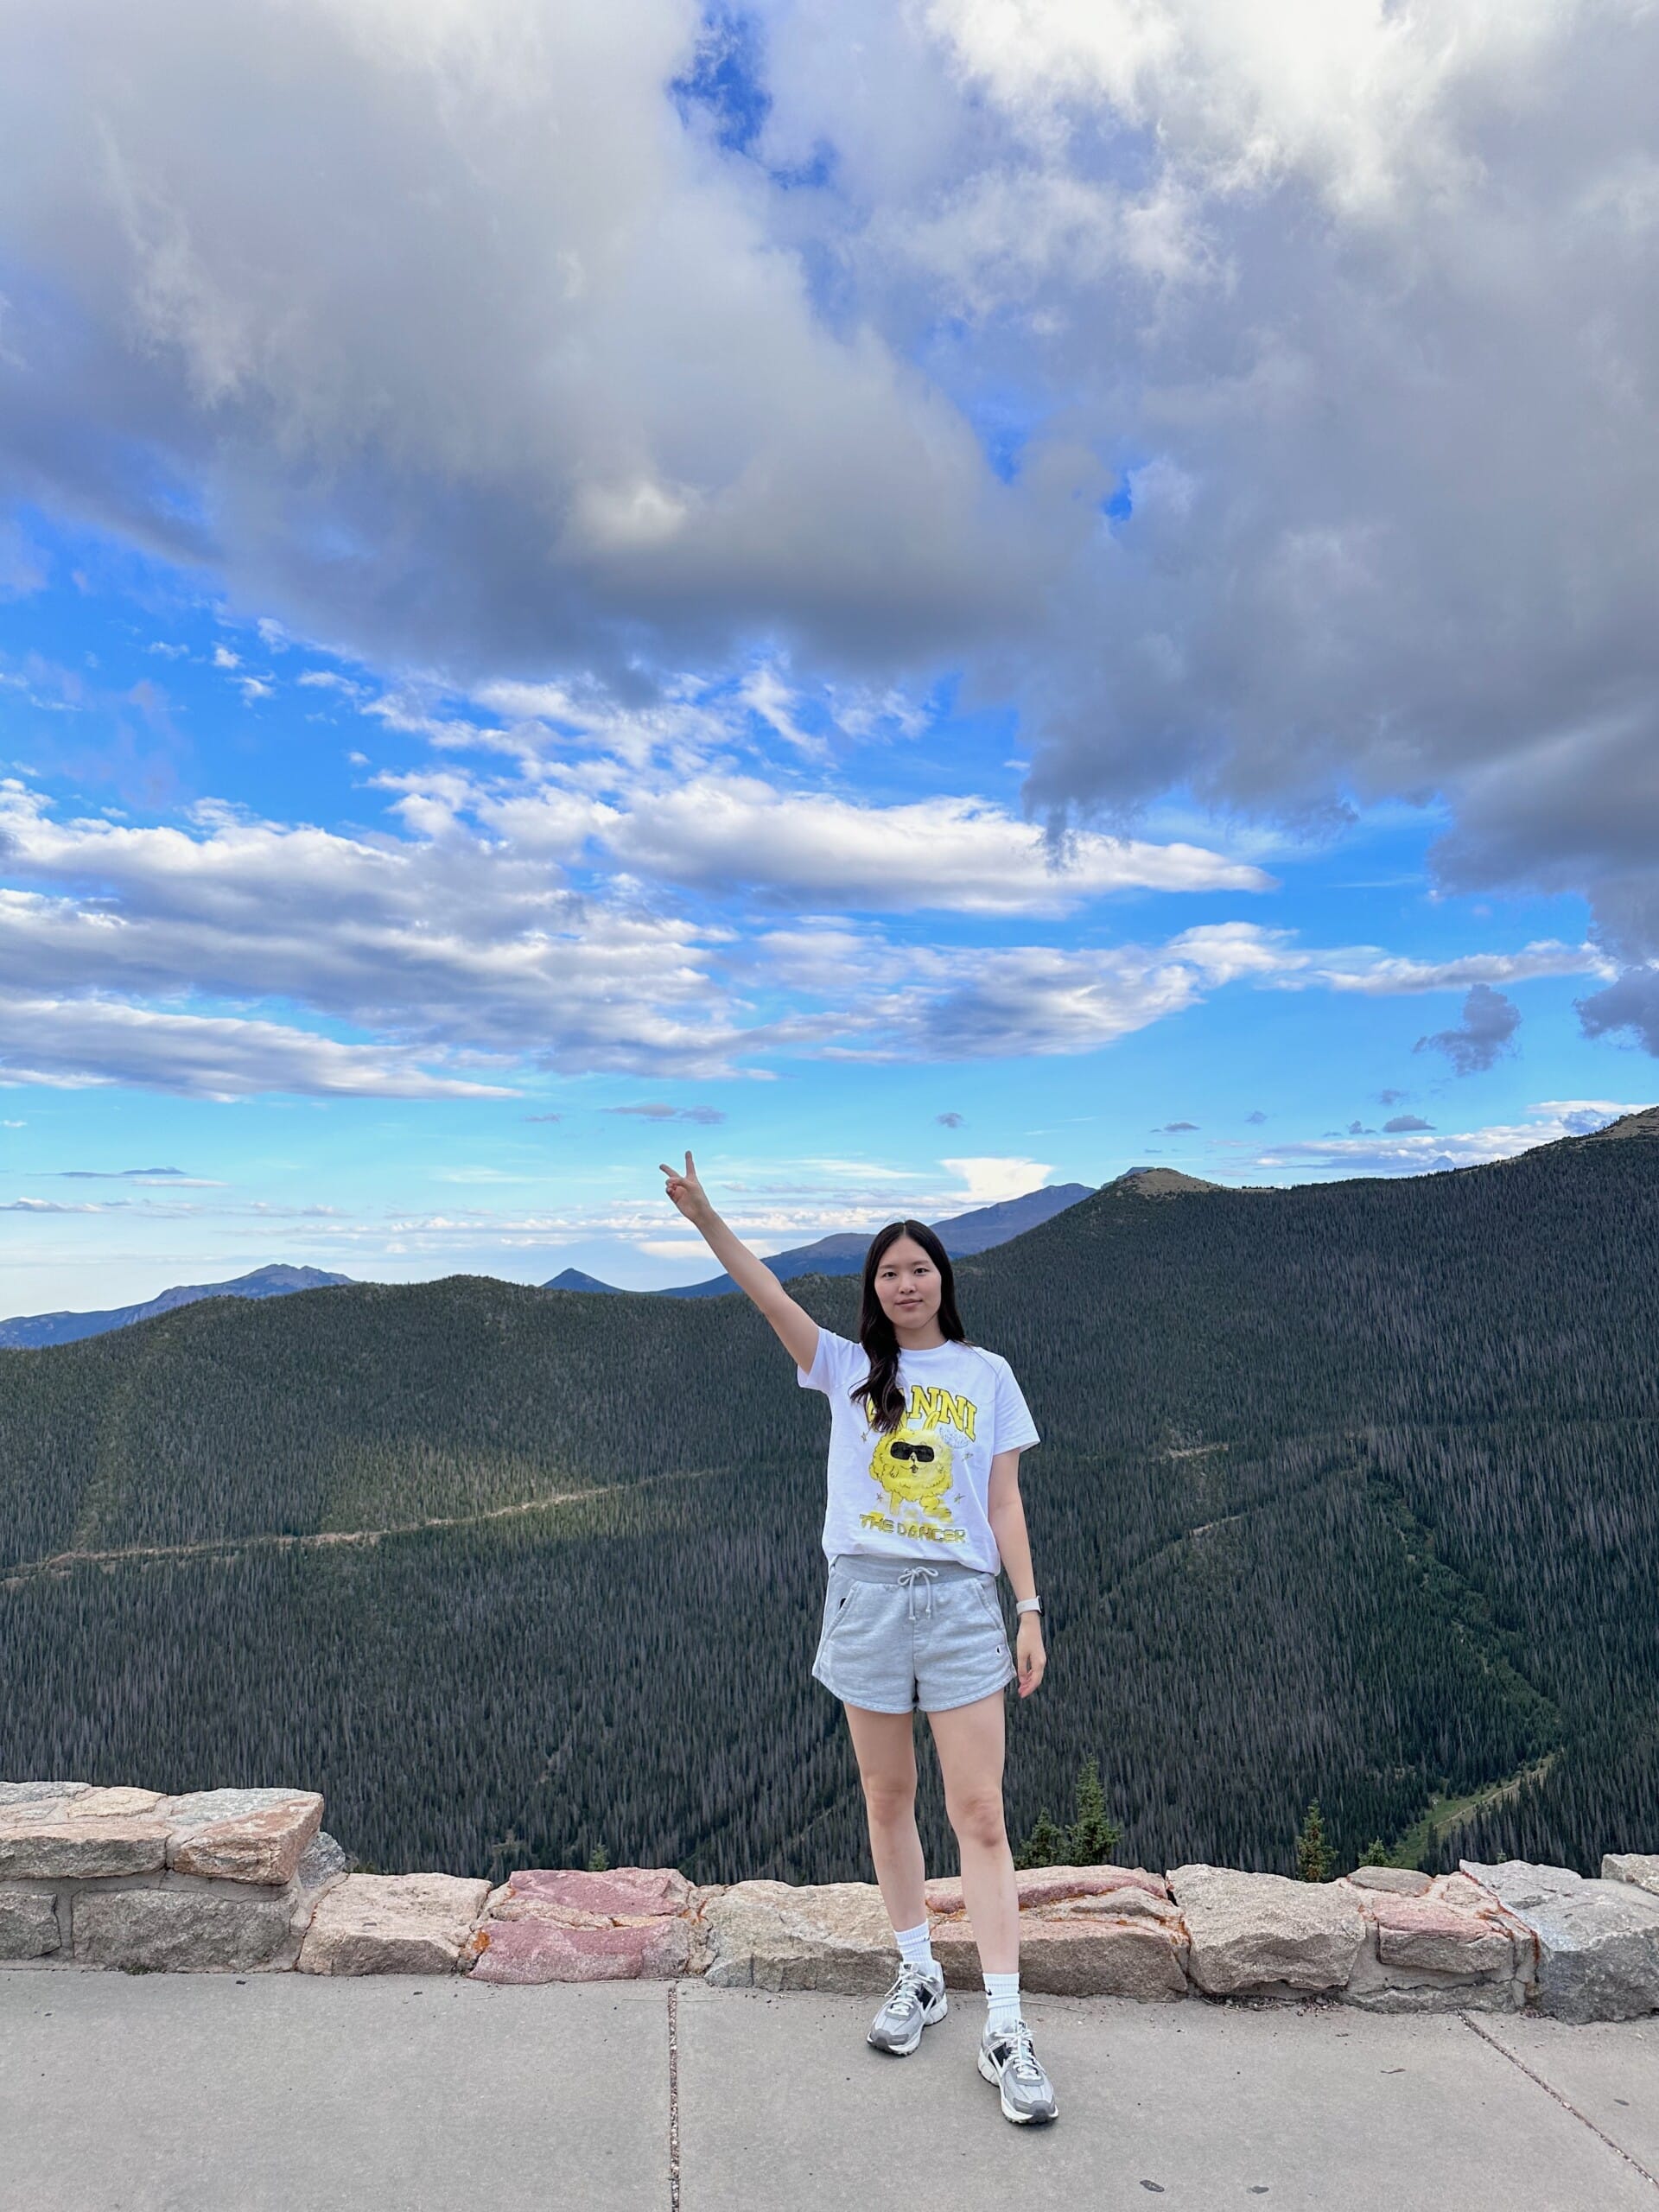


After sightseeing, as we were getting back in the car to head down, a rainbow suddenly appeared in the sky. To see a real rainbow at Rainbow Curve Overlook was quite a treat. It seemed like there was a brief rain followed by sunshine, which created the rainbow. Feeling good, we moved on to the next point.
Sheep Lakes
We arrived at the fourth point, Sheep Lakes, but there was really nothing there, and it was marked as closed. Even if it had been open, I wondered if there would be anything special to see, so we decided to just pass by.


However, not long after leaving Sheep Lakes, we saw a surprising number of cars gathered in an unexpected spot. It seemed like something was happening. Park rangers were even controlling the vehicles, so we hurriedly parked nearby and ran over. And finally, we encountered a moose. I had never seen a moose even in Yellowstone, so this was a real treat. It looked quite small in photos, but in person, it was enormous. Elk are impressive, but the moose’s antlers were truly overwhelming. I felt incredibly lucky to encounter a moose in such an unexpected place.
Tundra Communities Trailhead
From here on, these are the points continued from the second day. As we climbed higher above the Rainbow Curve Overlook, the atmosphere changed dramatically, and I could really feel that we were ascending to a very high place.


We arrived at the Tundra Communities Trailhead and got out, and it was really cold. However, the background was incredibly beautiful, and from this point to the Alpine Visitor Center, it truly looked like a painting. In fact, I wanted to hike the trail all the way up, so I went up a bit at first, but after already hiking in the morning, my legs felt like they weren’t mine. Since we had to hike the trail at the Alpine Visitor Center as well, we decided not to push ourselves here.
Lava Cliffs Overlook
As we climbed higher, it felt like we were getting closer to the sky, and everything within sight was stunning. While looking around, I saw a cliff that was so beautiful that I decided to go down, and it turned out to be the Lava Cliffs Overlook, which I had originally planned to visit.


In photos, the cliffs may seem small, but in reality, they were enormous, and photos just can’t capture it all. The cliffs were truly magnificent, and the areas where the snow hadn’t completely melted blended together in a strangely mystical way. This is definitely one of the points I would highly recommend.
Alpine Visitor Center
After finishing our visit at the Lava Cliffs Overlook, we set off for our final destination, the Alpine Visitor Center. There was a line of cars trying to enter the parking lot at the Alpine Visitor Center, which definitely seemed to be the most popular spot. While waiting to enter the parking lot, we talked about whether we could actually hike that trail. It looked really high and had a lot of stairs, and on top of that, my brother seemed to be slightly affected by altitude sickness, which worried me.


After circling the parking lot about twice, we finally managed to park. Since we had come this far, we decided to hike as far up as we could. There were more calculations than I expected, so we took breaks in between as we climbed. Moreover, perhaps because of the altitude, I felt more out of breath.
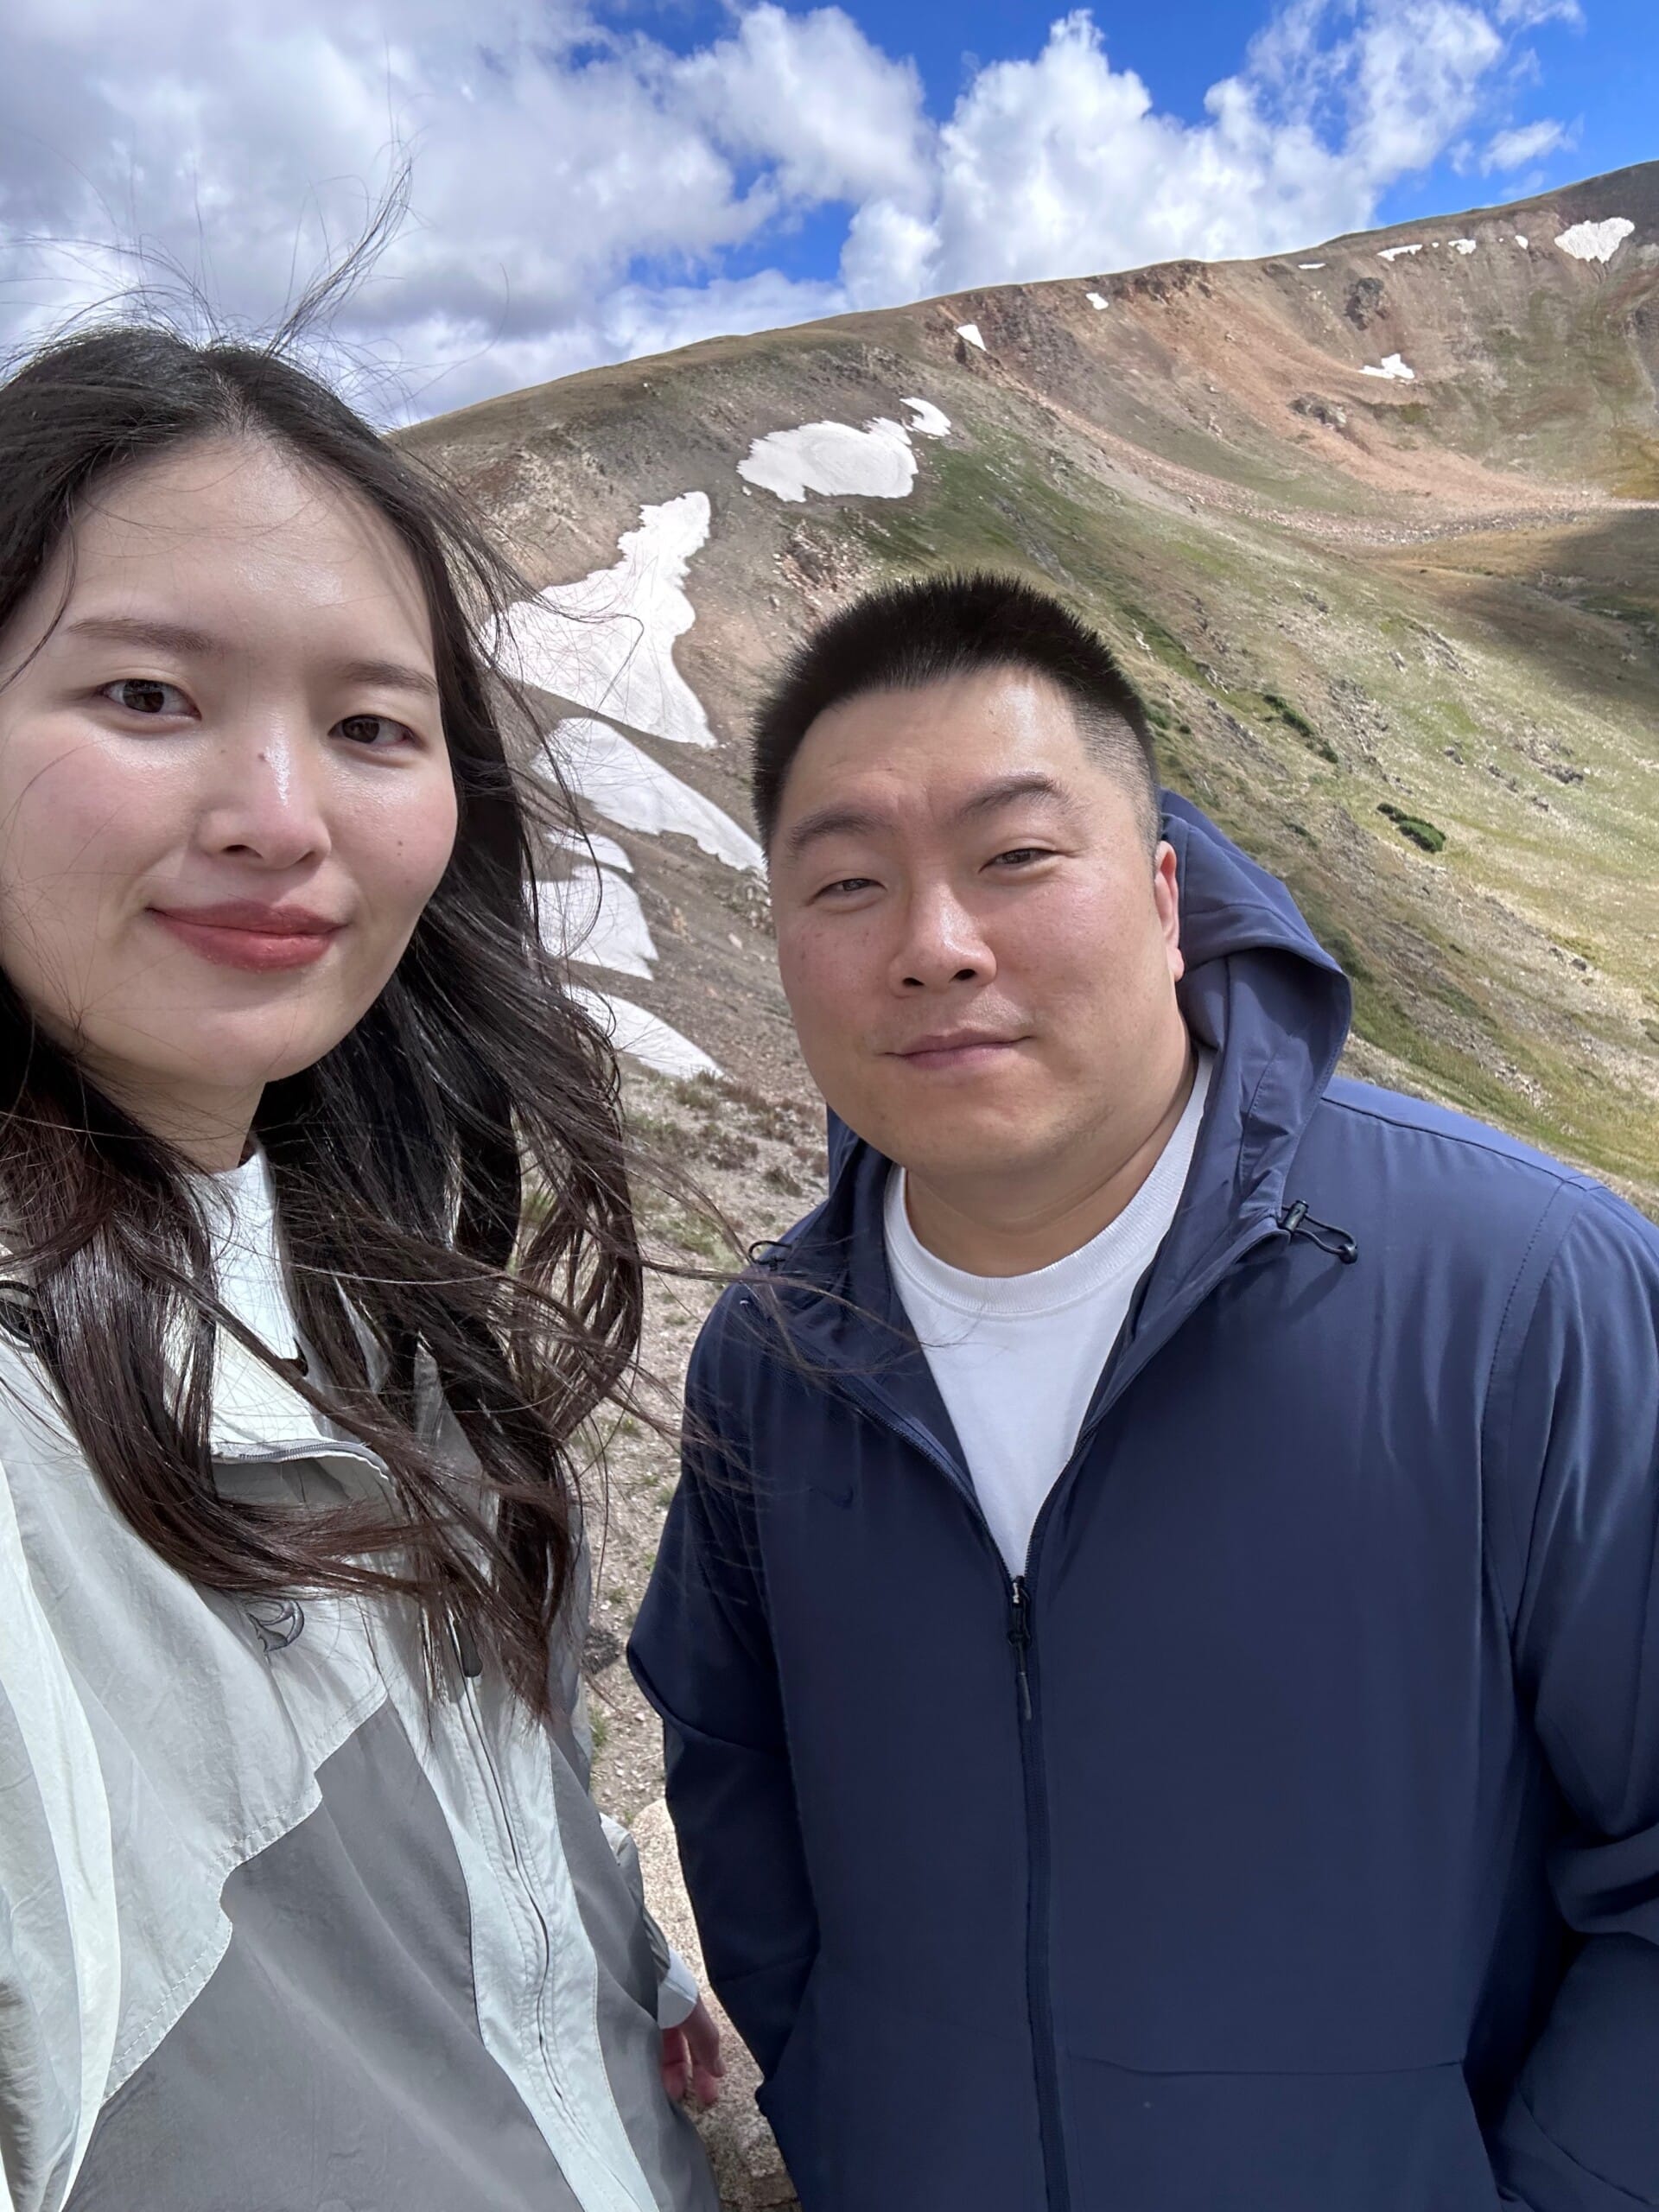


Finally arrived at the trail. In fact, there were more trails above, but I couldn’t go any further, so I only climbed up to this point. It was tough, but I’m glad I made the effort. The view was absolutely stunning, and there were several times I wanted to give up, but I was proud of myself for persevering.


After taking a break, I went back down to buy some souvenirs. It was really tough going up, but I came down very quickly.
Alpine Visitor Center
I initially stopped by the Visitor Center, where they were selling souvenirs, and there was also a separate store in the adjacent building. I checked both out, but I preferred the souvenirs at the Visitor Center, so I bought them there.


I bought a blanket, a cup, and a magnet as souvenirs. I had hesitated about buying a cup when I visited Yellowstone and regretted not getting it, so this time I bought it without hesitation, and I’m using it a lot. Every time I use it, it reminds me of the Rocky Mountains, which makes me happy.
Altitude Sickness
Before going to the Rocky Mountains, I read several articles about altitude sickness. I wasn’t too worried at first, but after experiencing it myself, I think it’s something to be very cautious about. The Alpine Visitor Center is at 11,796 ft, and before arriving there, you pass through areas over 12,000 ft, which is really high, so it seems many people experience altitude sickness.


In my case, there weren’t significant symptoms, just a slight throbbing in my head, while my brother had a very severe headache, felt extremely drowsy, and said his chest felt a bit tight. If you have symptoms, it’s best not to push yourself and to rest right there or descend immediately. We also felt a bit better when we descended to a certain extent.
Alpine Visitor Center
The hike from Bear Lake to Nymph Lake, Dream Lake, and Emerald Lake continues in Rocky Mountain National Park Part 2.
